

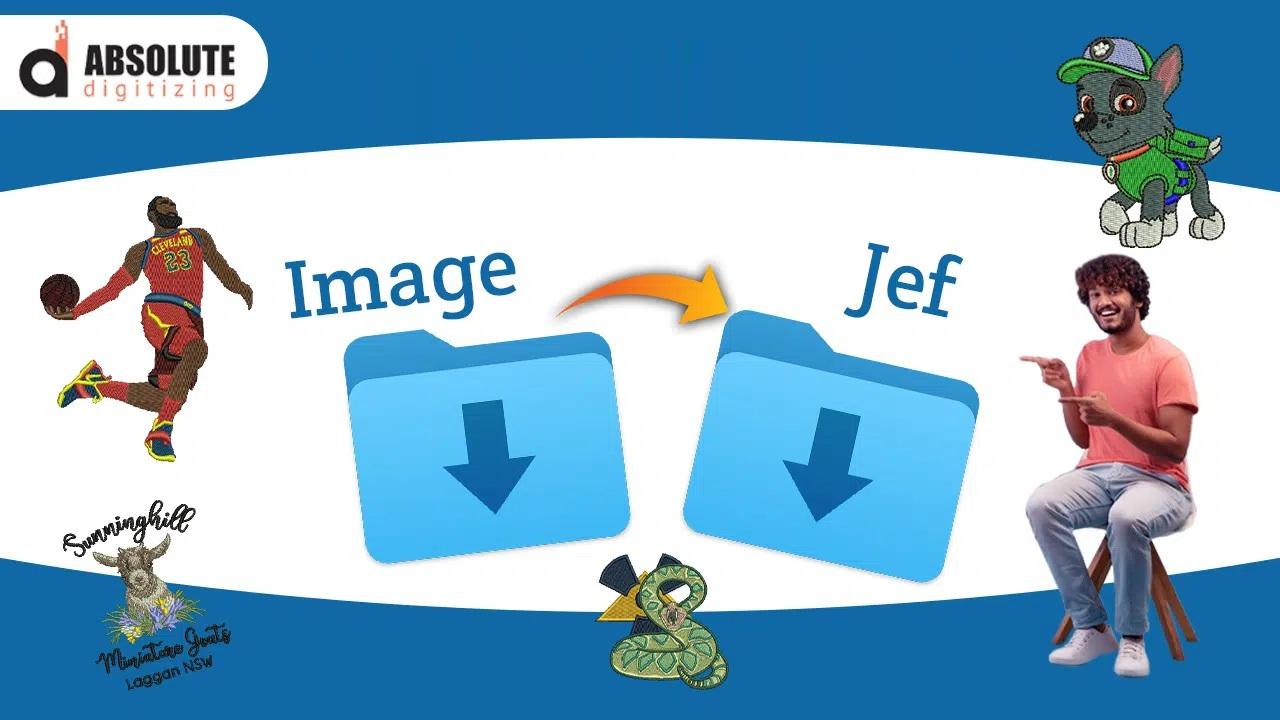
Convert Graphics into JEF Embroidery Files: Easy Guide
Have you ever found the perfect logo or artwork, only to discover that your embroidery machine cannot use the file? It is a common problem for both beginners and experienced embroiderers.
If you own a Janome embroidery machine, your artwork may need to be converted into the JEF embroidery file format before you can stitch it. Simply changing a file extension is not enough. The artwork must be properly digitized so the machine understands stitches, thread changes, colors, and sewing order.
In this guide, you will learn how to Convert Graphics into JEF Embroidery Files, what makes the JEF format different, which graphics work best, and how to get better stitching results.
What Is a JEF Embroidery File?
JEF is an embroidery file format commonly associated with Janome embroidery machines. Unlike a regular image file, a JEF file contains information that tells an embroidery machine how to create a design with stitches.
A normal graphic might contain pixels, lines, shapes, or vector paths. An embroidery file needs much more information.
It can include details such as:
- Stitch placement
- Stitch type
- Stitch direction
- Stitch density
- Thread color information
- Sewing sequence
- Design size
- Machine-specific instructions
Think of a graphic as a picture and a JEF file as a set of sewing instructions. The graphic shows what you want, while the embroidery file explains how the machine should stitch it.
Why Convert Graphics into JEF Embroidery Files?
A JPG, PNG, SVG, AI, or other graphic file cannot normally be sent directly to an embroidery machine and expected to stitch correctly.
Embroidery machines do not read artwork in the same way a computer does. They need digitized stitch data.
When you Convert Graphics into JEF Embroidery Files, the artwork is transformed into a machine-readable embroidery design.
This conversion is useful when you want to:
- Stitch a business logo
- Create personalized clothing
- Embroider names or monograms
- Make patches
- Decorate hats and bags
- Create promotional apparel
- Turn custom artwork into machine embroidery
- Prepare designs for compatible Janome machines
The goal is not simply to change the file type. The goal is to create a JEF design that stitches cleanly and accurately.
Which Graphics Can Be Converted to JEF?
Almost any suitable graphic can be prepared for embroidery, but some files are easier to work with than others.
JPG and JPEG Images
JPG files are widely used for logos, photographs, and online graphics. They can be converted into embroidery designs, but they may require extra cleanup.
Low-resolution JPG images can have blurry edges, compression artifacts, or unclear details. These problems can affect the digitizing process.
PNG Images
PNG files can be useful because they often preserve cleaner edges and may have transparent backgrounds.
A simple PNG logo with clear shapes and limited colors is usually easier to prepare for embroidery than a detailed image.
Vector Graphics
Vector artwork can be an excellent starting point for embroidery digitizing because shapes and outlines are generally easier to identify.
Files such as SVG, EPS, or AI may provide clean artwork that can be converted into stitch-ready elements.
However, vector artwork still needs embroidery-specific digitizing. A vector file is not automatically an embroidery file.
How to Convert Graphics into JEF Embroidery Files
The conversion process involves several important stages. Good results depend more on the quality of the digitizing than on simply selecting a file converter.
1. Choose a High-Quality Graphic
Start with the cleanest artwork available.
A high-resolution image or properly created vector graphic gives the digitizer more information to work with.
If possible, avoid screenshots or extremely small images. They often contain blurry edges that make accurate tracing difficult.
2. Clean Up the Artwork
Before digitizing, examine the design carefully.
Remove unnecessary backgrounds, fix broken shapes, and simplify tiny details that may not work well with thread.
For example, a logo may look perfect on a computer screen but contain very thin lines. Those lines could disappear when stitched.
3. Decide the Final Embroidery Size
Size matters in embroidery.
A design intended for a shirt may have plenty of room for details, while a small logo on a cap may need significant simplification.
Before creating the JEF file, determine:
- Finished width and height
- Intended fabric
- Placement
- Hoop size
- Level of detail required
Avoid resizing the design too much after digitizing. Major size changes can affect stitch density and overall quality.
4. Select Suitable Stitch Types
Different parts of a design require different stitch types.
Common embroidery stitch types include:
Satin stitches: Often used for borders, lettering, and narrow shapes.
Fill stitches: Used to cover larger areas with thread.
Running stitches: Useful for outlines and fine details.
Choosing the right stitch type helps the design look clean while controlling thread usage and stitch count.
5. Set Stitch Density
Stitch density refers to how closely stitches are placed together.
Too much density can cause bulky embroidery, puckering, thread breaks, or fabric distortion.
Too little density can leave gaps and make the design look weak.
The correct density depends on factors such as fabric type, design size, thread, and stitch style.
6. Add Underlay Stitches
Underlay provides a foundation beneath the visible stitches.
It can help stabilize the fabric and support the top layer of embroidery.
The right underlay can improve coverage and help prevent the finished design from looking uneven.
7. Set the Sewing Sequence
The order in which sections are stitched matters.
A well-planned sequence can reduce unnecessary thread changes and jump stitches. It can also help prevent parts of the design from shifting during stitching.
Professional digitizing considers the entire sewing process rather than treating each section separately.
8. Set Thread Colors
The artwork's colors need to be translated into embroidery thread colors.
Keep in mind that thread does not always reproduce screen colors exactly. A professional digitizer considers how different thread shades will appear on the selected fabric.
For designs with many colors, simplifying the palette can sometimes produce a cleaner result.
9. Save the Design as JEF
Once the design has been digitized, reviewed, and tested, it can be exported in the appropriate JEF format.
The resulting file should contain the stitch information required by the compatible embroidery machine.
Remember: changing a filename from .jpg to .jef does not create a real embroidery design.
JEF Conversion vs. Simple File Conversion
This is one of the most important things to understand.
A file converter and an embroidery digitizing process are not always the same thing.
A regular image contains visual information. A machine embroidery file contains stitch instructions.
For example, imagine a circle in a logo. An image simply tells your computer that a circle exists. A digitized embroidery file needs to determine how that circle should be stitched, including stitch direction, density, underlay, sequence, and other settings.
That is why professional embroidery digitizing is often necessary when converting graphics into JEF files.
Tips for Better JEF Embroidery Results
A good-looking design on your computer does not automatically guarantee good embroidery. Follow these practical tips before stitching.
Keep Small Details Simple
Tiny details can disappear in thread. If a design contains very small text, thin outlines, or narrow gaps, consider simplifying them.
Choose Fabric Before Digitizing
A design intended for denim may need different settings from one intended for a lightweight shirt.
The fabric affects stabilization, density, underlay, and stitch behavior.
Avoid Excessive Stitch Density
Adding more stitches does not always create better embroidery. In many cases, excessive stitching can make the design stiff and cause fabric problems.
Use the Correct Hoop Size
Make sure the final design fits comfortably inside the embroidery area.
Do not design right up to the maximum hoop boundary unless there is a specific reason to do so.
Preview the Stitch Sequence
A stitch simulation can reveal problems before you use actual thread and fabric.
Look for unnecessary jumps, awkward color changes, missing sections, or areas that appear too dense.
Test Before Large Production
If the design will be used on multiple garments, perform a test stitch first.
Testing gives you an opportunity to adjust density, sizing, colors, underlay, and other settings before starting a large batch.
Common Problems When Converting Graphics to JEF
Even when the artwork looks simple, several issues can appear during conversion.
Blurry or Pixelated Artwork
Poor-quality source graphics can make accurate digitizing difficult.
Solution: Use a high-resolution image or clean vector artwork whenever possible.
Text Looks Too Small
Small lettering is one of the most challenging parts of embroidery.
Solution: Increase the letter size or simplify the font and shapes.
Design Looks Too Thick
Excessive density or overlapping stitches can make embroidery bulky.
Solution: Review density, overlaps, and underlay settings.
Fabric Puckers
Puckering can happen when the fabric moves or becomes overloaded with stitches.
Solution: Use suitable stabilizer and review the digitizing settings for the fabric.
Thread Breaks
Frequent thread breaks can result from several factors, including excessive density, unsuitable stitch settings, machine tension, needle issues, or poor digitizing.
Solution: Check both the machine setup and the embroidery file.
When Should You Use Professional JEF Digitizing?
DIY embroidery software can be useful for simple designs, especially when you want to learn the basics.
However, professional digitizing can be a better choice when the design is complicated or production quality matters.
Consider professional help when you need:
- Detailed logos
- Small lettering
- Cap embroidery
- Jacket-back designs
- High-detail artwork
- 3D puff effects
- Appliqué designs
- Production-ready embroidery
- Multiple file formats
- Consistent results across many garments
At Absolute Digitizing, artwork can be prepared with embroidery requirements in mind rather than simply converted from one extension to another.
How to Prepare Your Artwork for JEF Digitizing
You can make the process easier by preparing your artwork properly.
Before sending a design for digitizing, try to provide:
- The highest-quality artwork available.
- Your preferred finished size.
- The type of fabric you plan to use.
- The embroidery placement.
- Your preferred thread colors, if applicable.
- The machine or file format you need.
- Any special requirements, such as lettering or appliqué.
Providing these details helps the digitizer understand exactly how the finished embroidery should look.
Can You Convert a Logo into a JEF File?
Yes. Logos are among the most common graphics converted into embroidery formats.
However, a logo may need to be simplified before it is digitized. Fine gradients, shadows, photographic effects, and extremely small elements may not translate well into thread.
A skilled digitizer can determine which elements should become satin stitches, fill stitches, running stitches, or other embroidery elements.
The result is a design built for stitching rather than simply a picture saved in a different format.
What Makes a JEF File Ready for Embroidery?
A quality JEF file should be more than technically compatible with the machine.
It should also be properly digitized for the intended application.
Important factors include:
- Correct design dimensions
- Appropriate stitch density
- Logical stitch sequence
- Suitable underlay
- Clean thread changes
- Proper stitch direction
- Reasonable stitch count
- Fabric-appropriate settings
- Minimal unnecessary jumps
- Clear and readable details
These factors can make the difference between embroidery that looks professional and embroidery that requires troubleshooting.
Final Thoughts
Learning how to Convert Graphics into JEF Embroidery Files is an important step if you want to turn digital artwork into machine embroidery.
The process starts with good artwork but does not end with changing the file extension. Proper digitizing transforms visual shapes into carefully planned stitches that an embroidery machine can understand.
For the best results, pay attention to artwork quality, design size, stitch types, density, underlay, fabric, hoop limitations, and sewing sequence. Always test important designs before starting large production runs.
Whether you are converting a simple logo or a detailed custom design, the goal should always be the same: create a JEF embroidery file that stitches cleanly, looks attractive, and performs reliably on the intended machine.
FAQs
1. What does it mean to convert graphics into JEF embroidery files?
It means transforming digital artwork into a machine embroidery design containing stitch instructions. The artwork is digitized and saved in the JEF format for compatible embroidery machines.
2. Can I convert a JPG directly to JEF?
A JPG can be used as the starting artwork, but simply changing its file extension will not create a usable JEF embroidery file. The image needs to be properly digitized into stitches.
3. What artwork is best for JEF embroidery digitizing?
Clean, high-resolution artwork and vector graphics are generally easier to digitize. Simple logos with clear shapes and limited colors often produce excellent results.
4. Why does my converted embroidery design look different from the original graphic?
Thread behaves differently from pixels or screen graphics. Fine details, gradients, shadows, and very small elements may need to be simplified or redesigned for embroidery.
5. Can Absolute Digitizing create JEF embroidery files?
Yes. Absolute Digitizing can help prepare artwork as embroidery-ready JEF designs, with attention to stitch types, density, sequencing, sizing, and the intended application.

 English